
Upper Drive Cage Removal
The instructions below assume that one has already removed the side panel, opened the S900, and removed the front bezel. If not, please see Opening the S900 and Removing the Front Bezel.
Removal of the upper drive cage is usually necessary to uninstall any 5.25" drives or properly secure replacement drives in the cage. Without removal of the cage, drive cannot easily be secured on the right side.
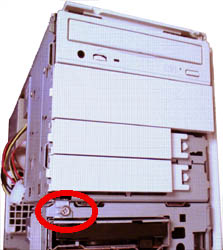
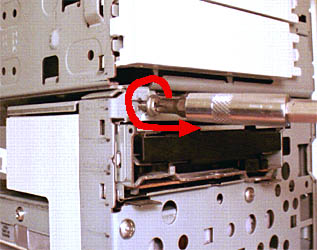
The upper drive cage is held in place by a single screw, freely accessible from the front of the machine. It is located near the left edge, between the lowermost drive bay cover and the floppy drive. Simply unscrew this screw.
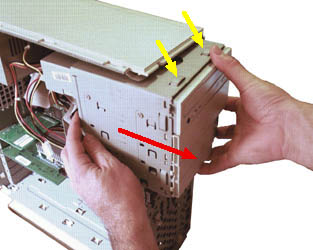
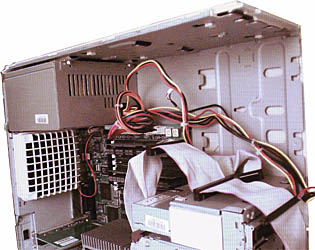
Pull the upper drive cage gently but firmly forward, in the direction of the red arrow, below. With the cage partly extracted, you can now more easily disconnect the various drive cables from the back of it (if necessary to do whatever you wish to accomplish).
Also, note the two alignment recesses pointed out by the yellow arrows. Although not important at the moment, you will need to ensure that they align with the small metal tabs along the top of the metal chassis frame when you return the drive cage to its home. Both tabs go inside the raised alignment recesses (fit tab A into slot B, etc.).
The end result will be something you don't often see -- a gaping cavity where your S900's face usually lives. To reinstall the cage after performing any other work, simply reverse the above process, paying attention to the alignment recesses pointed out above.
Closing note: The J700 shares the same chassis and drive cage (which is perfectly square), but employs them in a horizontal, desktop arrangement. The face of the drive cage is simply rotated 90 degrees counter-clockwise and reinserted into the same area for use as a desktop system. Unfortunately, in this arrangement, the lowermost drive bay is rendered virtually unusable. This information may be useful for anyone considering the conversion of their S900 or S910 tower to a desktop arrangement; the only remaining step would be to remove the base foot.