
Floppy Drive Removal
The instructions below assume that one has already removed the side panel, opened the S900, and removed the front bezel. If not, please see Opening the S900 and Removing the Front Bezel.
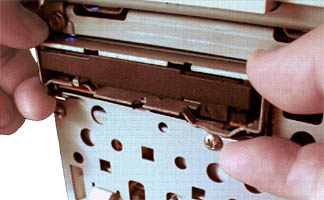
The floppy drive is held in place by two retainer clips, both accessible from the front on the underside of the drive. Removal is easy -- simply raise the clips and pull the floppy drive forward an inch or two.
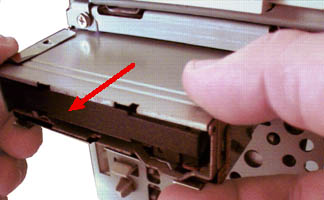
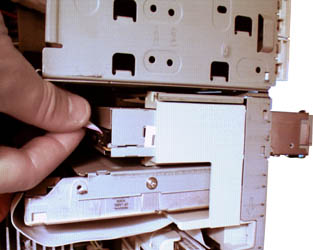
With the floppy drive partly extracted, you can now more easily disconnect the cable from the back of it. Try to pull on the plug itself (not the cable, as I'm recklessly doing below).
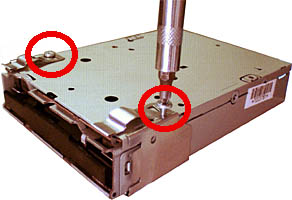
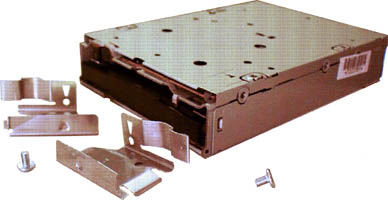
Presumably one would only remove the floppy drive to replace it, so the last stage is to remove the retaining clips from the floppy drive. Simply turn the floppy drive upside down and remove the screws holding each retaining clip in place from the underside of the the floppy drive.
Because the retaining clips screw into standard mounting points, any Mac-compatible non-power-ejecting floppy drive should serve as a suitable replacement. Simply reverse the above process to mount and connect a replacement floppy drive.
Back to S900 tour index